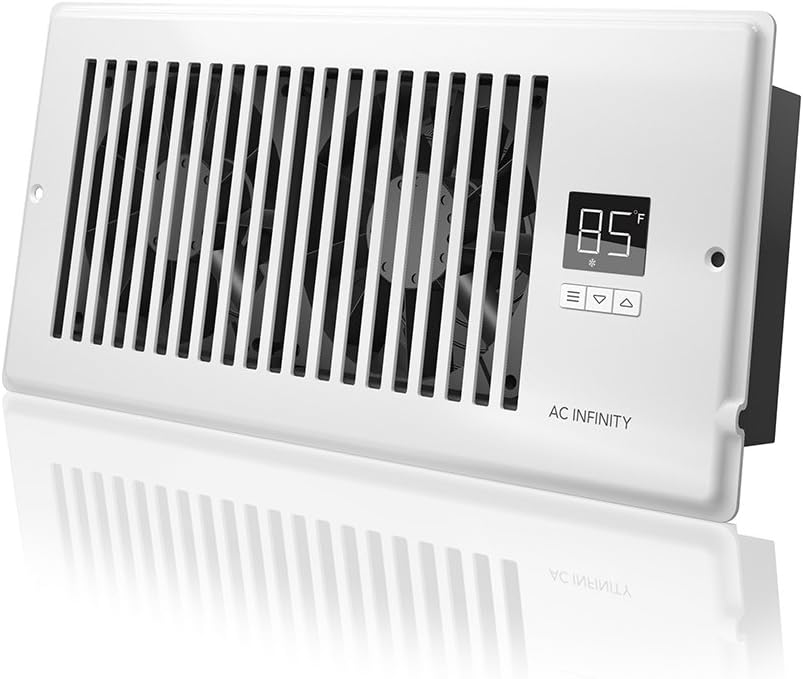
Is your bathroom fan beginning to show symptoms of wear and tear, or has it gotten noisy and inefficient over time? It’s time to think about replacing your bathroom fan. Upgrading your bathroom fan is an important step toward ensuring optimum ventilation and improved air quality in your bathroom. We will walk you through the process of replacing a bathroom fan in our comprehensive product review, assuring a seamless and successful makeover for your area.
Contents
Signs You Need a Bathroom Fan Replacement
Recognizing the signs that indicate your bathroom fan needs replacement is essential. Look out for the following indicators:
- Strange Noises: Unusual rattling, grinding, or squeaking noises coming from your fan are clear signs of a potential replacement.
- Poor Ventilation: If your current fan is struggling to effectively remove excess humidity and odors from your bathroom, it’s time to consider an upgrade.
- Aging Fan: If your bathroom fan is several years old and no longer performing optimally, it may be time to invest in a new model.
- Excess Moisture: If condensation persists on walls or mirrors after a shower, your fan might not be adequately ventilating the space.
- Visible Damage: Cracked housing, damaged fan blades, or a worn-out appearance are evident signals for a replacement.
Choosing the Right Replacement Fan
Selecting the right bathroom fan replacement involves considering several factors:
- CFM Rating: CFM (Cubic Feet per Minute) measures the fan’s airflow capacity. Calculate the required CFM based on your bathroom’s square footage for efficient ventilation.
- Noise Level: Opt for a fan with a low sone rating to ensure quieter operation and a more pleasant bathroom experience.
- Size and Mounting: Ensure the replacement fan fits the existing opening in your bathroom ceiling or wall. Choose between ceiling-mounted or wall-mounted options based on your bathroom’s layout.
- Energy Efficiency: Look for an ENERGY STAR® rated fan to save energy and reduce electricity bills.
- Additional Features: Consider features such as built-in lighting, humidity sensors, timers, and motion sensors for added convenience and functionality.
Preparing for the Replacement
Gather the necessary tools, including a screwdriver, wire remover, wire nuts, and a ladder, before beginning the bathroom fan replacement operation. Turn off the circuit breaker or disconnect the electricity to the current bathroom fan to ensure safety.
Step-by-Step Replacement Process
Follow these steps to replace your bathroom fan:
- Remove the Old Fan: Carefully remove the grille, disconnect the wiring, and unscrew the fan from the ceiling or wall.
- Measure and Prep: Measure the dimensions of the existing opening to ensure the new fan fits correctly. Make any adjustments if necessary.
- Wiring: Follow the manufacturer’s instructions to wire the new fan properly. To keep the connections secure, use wire nuts.
- Mounting the New Fan: Securely mount the new fan in the existing opening using the provided screws.
- Connect Ductwork: Reattach the ductwork to the new fan to ensure proper ventilation.
- Test the Fan: Turn the power back on and test the new fan to ensure it is functioning correctly.
- Install the Grille: Attach the grille to the new fan for a finished look.
Professional Installation vs. DIY
While bathroom fan replacement can be a DIY project for experienced homeowners, consider hiring a professional for safe and proper installation, especially if you are unsure about electrical work.
Maintaining Your New Fan
To keep your new bathroom fan in top condition, perform regular maintenance. Clean the grille and fan blades at least twice a year to remove dust and debris that may accumulate.

Conclusion
A bathroom fan replacement is a vital step in maintaining a fresh and healthy bathroom environment. By recognizing the signs of a failing fan and choosing the right replacement with the appropriate CFM rating, noise level, size, and energy efficiency, you can ensure efficient ventilation and improved air quality in your bathroom. Whether you opt for a DIY installation or hire a professional, following this ultimate guide will help you successfully replace your bathroom fan and enjoy a more comfortable and enjoyable bathroom experience.
FAQs
1. How do I know if my bathroom fan needs replacement?
Signs that indicate the need for replacement include strange noises, inadequate ventilation, old age, excessive moisture, and visible damage.
2. What is CFM, and why is it important?
CFM (Cubic Feet per Minute) measures the fan’s airflow capacity. Calculating the required CFM based on your bathroom’s square footage ensures efficient ventilation.
3. Can I replace my bathroom fan on my own?
While bathroom fan replacement can be a DIY project, consider hiring a professional for proper and safe installation, especially if you are unsure about electrical work.
4. Are ENERGY STAR® rated fans worth considering?
Yes, ENERGY STAR® rated fans are more energy-efficient and can lead to cost savings on electricity bills.
5. How often should I clean my new bathroom fan?
Clean the grille and fan blades at least twice a year to maintain optimal performance and prevent dust and debris buildup.
